It’s spring, so those of you lucky enough to have a pool in your backyard are probably eager to be ready for summer swimming. Above-ground and inground pools are opened somewhat similarly, except for a few minor differences. Here are the pool opening instructions you need for a successful start to your swim season.
 14 steps to get your pool ready for fun!
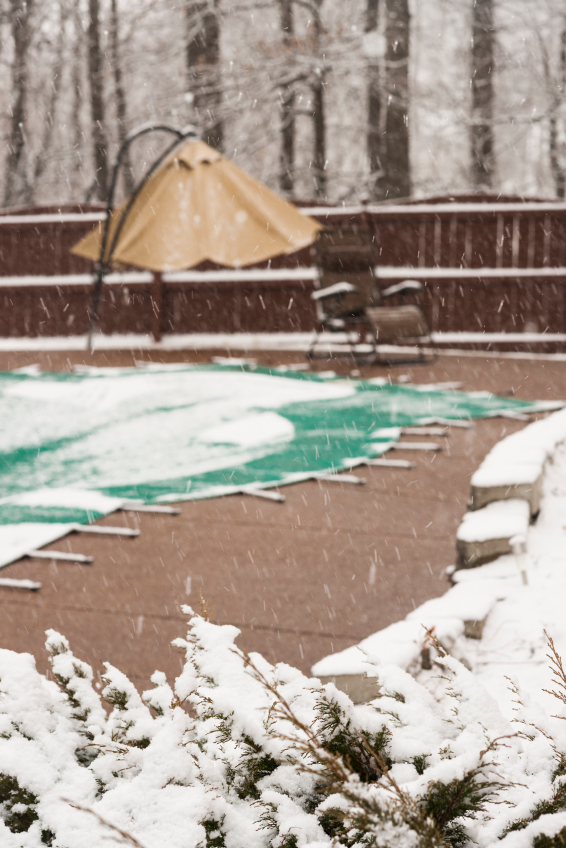
- First, you must remove leaves and debris from the winter cover. This is easier if you have invested in a safety cover. If you have the waterbag or clip-in type, you must pump off the water with a pump specially designed for that purpose. If you have a safety cover pour First into the pool at least 24 hours before you begin opening, this product will help break up any organic matter. Once the cover is off, hose it down and stretch it out on the lawn to dry. If it is a safety cover, store it in its original bag and hang it from the rafters in your shed or garage. If it is a clip-in vinyl cover, store it in a barrel of water to prevent shrinkage(pour in a bottle of algicide to help the water from becoming murky).
- Re-install your light if you have one.
- Remove all plugs from the skimmer and return. Replace the skimmer basket, return directional fittings(eyeballs), and start filling the pool.
- Replace the basket and two plugs in the pump and the drain plug in the filter.
- If you have a heater, re-connect the plumbing inlet and outlet and replace the plug. Don’t forget to re-connect the pressure relief valve inside the heater cabinet.(that’s the ¼” tube with a brass nut on the end). Turn on the on/off switch and the gas valve.
- If you have a Clearblue ionizer, check the electrode rods. If there is less that ½” remaining purchase a replacement. Put new Teflon tape on the treads and re-install. If you have a salt chlorinator, put the generator and cell back on, Do not, however, turn it on just yet.
- Once the pool is full, prime the pump by filling it with water (if there is an on/off valve in front of the pump, shut it before you do this). Open all valves and start up the pump. If it doesn’t catch right away, try it a few times until it does (make sure the lid O Ring is on and in good shape. Also make sure the lid is tight. If it’s a salt water chlorinator, do not turn it on yet. The water temperature must be above 60-65⁰ F for it to work).
- At this point the pool should be shocked once the pump is running. Liquid or powder chlorine is usually your best choice.
- If you have a sand filter, turn the handle to filter and start the pump. You will likely see air bubbles coming out the returns for a few minutes before you get full flow. Sometimes, this step has to be repeated several times before the pump catches. Run the pump for 24 hours to breakup stratification.
- The next step is to check your water balance for ph, total alkalinity and calcium hardness. If a salt pool, check your salt level. Check with new test strips or better yet, bring a water sample into Leisure Industries for a professional computer water test. Do this before you shock the pool.
 If the water needs balancing, use the appropriate chemical. If a salt pool, typically, you will need several bags of salt to bring it up to the proper salt level. It should be between 2500-4000 ppm, depending on which generator you have(consult your manual). It is important to use high-quality salt, which is mechanically evaporated in processing. Low-quality salts may contain contaminants that can damage a pool and equipment. They also may cause cloudy water, staining and scaling of the equipment. Use just enough salt to reach the mid-point of the recommended range. If you add too much salt, the pool will have to be partially drained. When adding salt, always pour it in the deep end with the pump running and brush it until it is totally dissolved. Once the water is balanced and the water temperature reaches at least 65⁰F, turn the salt chlorinator on to its highest level for 24 hours to establish between 1-3 ppm of free chlorine. After you reach that level, reduce the generator to maintain proper levels throughout the summer.
- For a non-salt pool, the next important step is shocking the pool with either liquid chlorine or granular chlorine. If using granular, pre-mix it in a bucket of warm water(note-always add the chlorine to the water, NEVER add water to chlorine.
- After about 24 hours of the water circulating, bring a water sample to us for testing. Rinse the container in pool water and take the sample from in front of the skimmer about elbow deep. If it is a saltwater pool, this level is also checked. The level should be between 3000 and 4000 ppm. Once this level is achieved, run the salt chlorinator for about 24 hours at its highest level to establish a free chlorine level of between 1 and 4 ppm. Only use high-quality salt, which is mechanically evaporated and is the best available. Lesser quality brands may contain contaminants that can damage the pool and equipment and cause staining, scaling and cloudy water.
- Pour the salt into the deep end (as with all liquid and powder chemicals) with the pump running and brush until dissolved. Make sure you do not add too much. If you do, the pool will need to be partially drained and fresh water added. One very important level to keep checking is pH. A salt generator has a tendency to drive the pH very high. This can result in problems with pool finishes and equipment failure. The water will also be uncomfortable to swim in, creating scale and staining that compromise the ability of the sanitizer to do its job. This is one of the many reasons we at Leisure are not big fans of salt chlorine generators.
Get Everything You Need from Leisure Industries
If opening your pool is too difficult for you, just give us a call to book an opening. Happy Swimming.
